Home
Home
How to Record Your Screen on Windows 11 and Windows 10 Using Built-in Tools
The fastest way to record your screen on Windows is by using the
Xbox Game Bar
shortcut: press
Win + Alt + R
to start and stop recording instantly. For Windows 11 users who need to capture a specific portion of the screen, press
Win + Shift + S
, select the
Video Camera
icon, and draw your capture area. Both tools save files automatically to your
Videos > Captures
folder.
Capturing your screen has evolved from a complex task requiring expensive third-party software to a seamless, integrated feature within the Windows ecosystem. Whether you are creating a tutorial for a colleague, documenting a software bug, or capturing high-octane gameplay, the native tools provided by Microsoft offer a robust starting point. According to official Microsoft documentation , these tools are designed to work efficiently without significant impact on system performance.
While many users immediately look for external downloads, the built-in options in Windows 10 and 11 are often sufficient for most daily tasks. However, each tool has specific strengths and limitations—such as the inability of some native apps to record the desktop or File Explorer—that are important to understand before you begin your project.
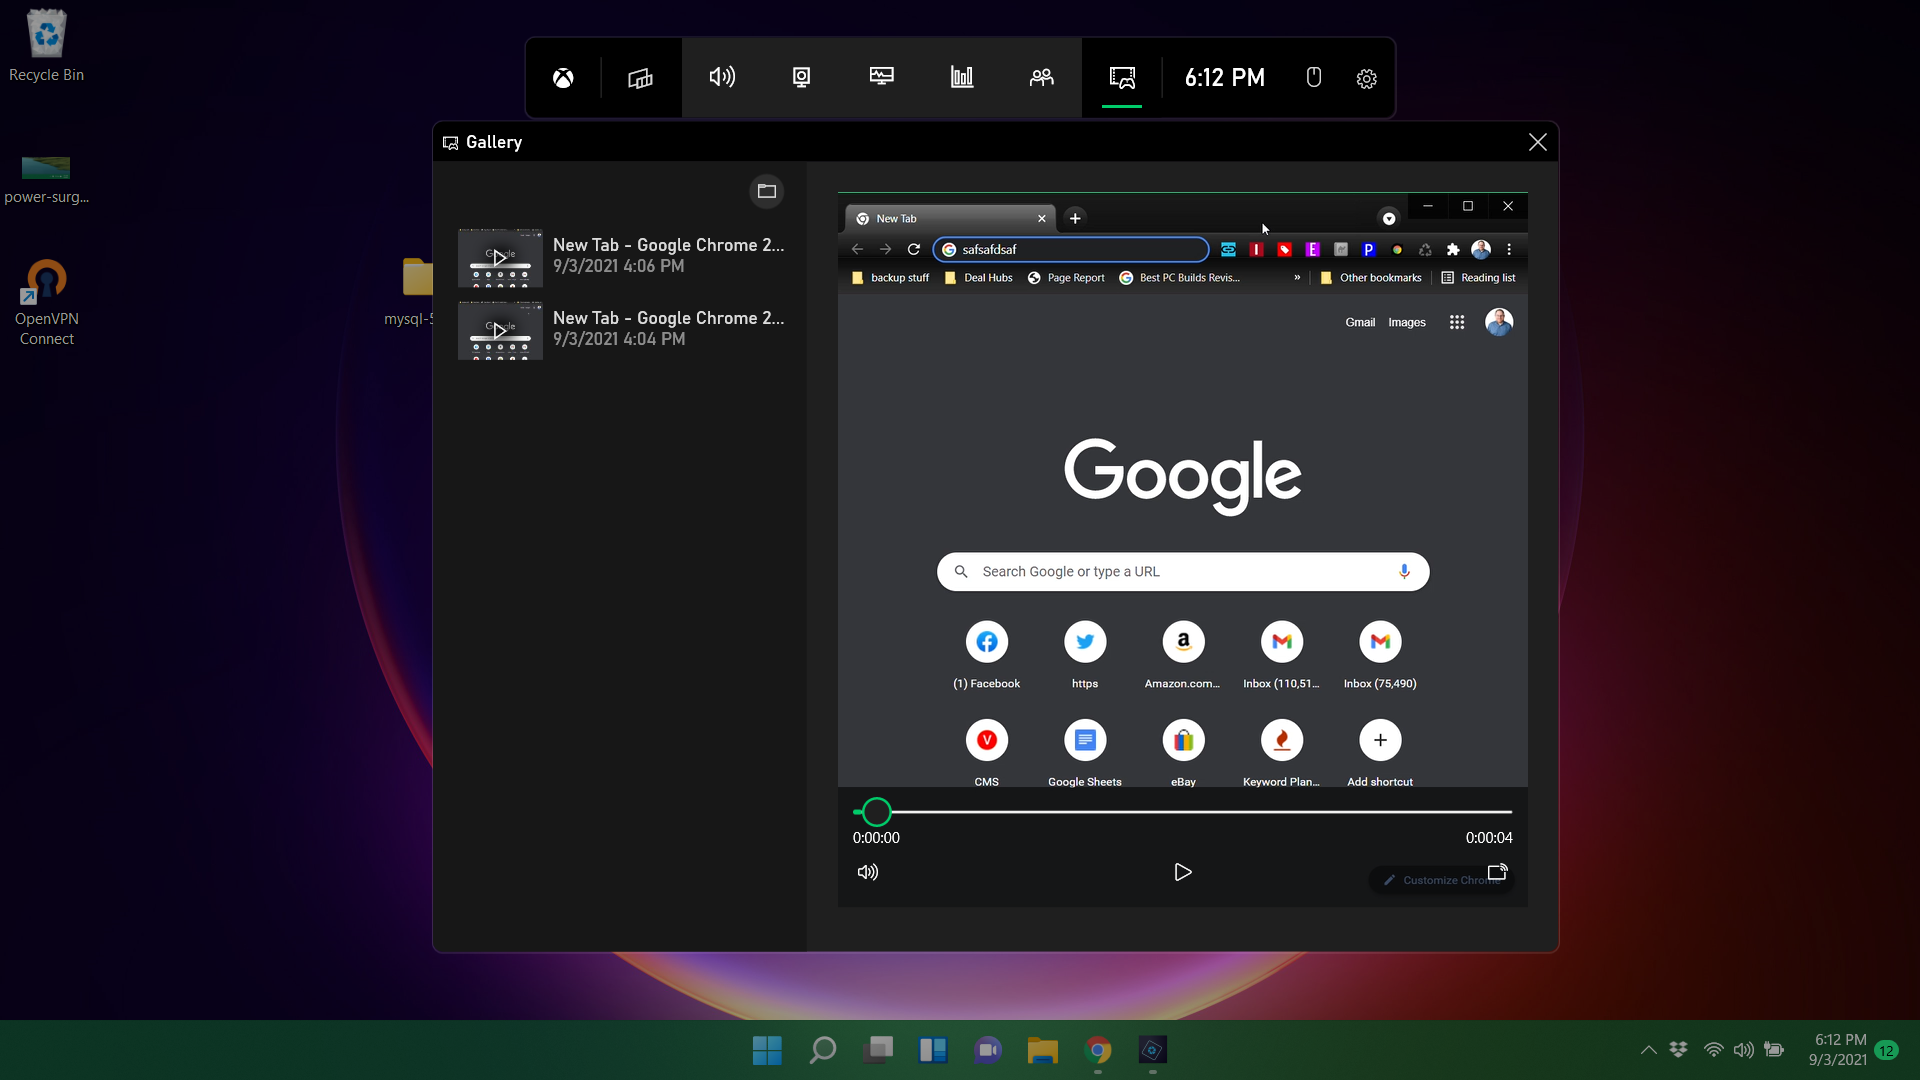
Image source: Tom's Hardware
How to Record Your Screen on Windows 11 with the Snipping Tool
For a long time, the Snipping Tool was strictly for static screenshots. However, recent updates have transformed it into a versatile utility that ranks among the top choices for quick video captures on Windows 11. Unlike the Game Bar, which focuses on full windows, the Snipping Tool allows you to select a specific region of your screen to record.
Step-by-Step Recording Process
-
Launch the App:
Open the Snipping Tool by searching for it in the Start menu or by using the shortcut
Win + Shift + S. - Switch to Video Mode: Look for the Video Camera icon at the top of the Snipping Tool overlay and click it to switch from screenshot mode to recording mode.
- Define the Area: Click the "New" button. Your screen will dim, allowing you to click and drag a box around the specific area you wish to capture.
- Adjust Audio Settings: Before starting, you can toggle your microphone and system audio on or off using the icons in the toolbar.
- Start the Capture: Click the "Start" button. A 3-second countdown will appear, giving you a moment to prepare your screen before the recording begins.
- Finish and Save: Once you are done, click the red stop button. The recording will open in a preview window where you can review it before saving it as an MP4 file .
The Snipping Tool is particularly useful for creating short "how-to" clips where you only want to show a specific menu or a small portion of a webpage. Because it outputs directly to MP4, the files are highly compatible with most video editors and social media platforms.
How to Use the Xbox Game Bar to Record Apps and Gameplay
The Xbox Game Bar is a powerful overlay built into both Windows 10 and Windows 11. While its name suggests it is only for gamers, it is a top-tier option for recording almost any application window. It is highly optimized for performance, ensuring that your recording does not cause significant lag in the application you are capturing.
Essential Shortcuts for Efficiency
-
Win + G: Opens the full Game Bar overlay, where you can adjust audio levels, monitor system performance, and manage your captures. -
Win + Alt + R: The direct command to start or stop a recording without opening the full menu. -
Win + Alt + M: Toggles your microphone on and off during a live recording.
Understanding the "Desktop" Limitation
One critical detail often overlooked is that the Xbox Game Bar is designed to record applications , not the entire operating system interface. According to HP Tech Takes , the Game Bar cannot record the Windows Desktop, the Start Menu, or File Explorer. If you attempt to start a recording while one of these is the active window, you will find the record button is greyed out and inactive.
This limitation makes the Game Bar a strong contender for recording a browser session, a Zoom meeting, or a video game, but a poor choice for a tutorial that involves navigating through Windows folders or settings menus. For those tasks, the Snipping Tool or PowerPoint methods are much more effective.
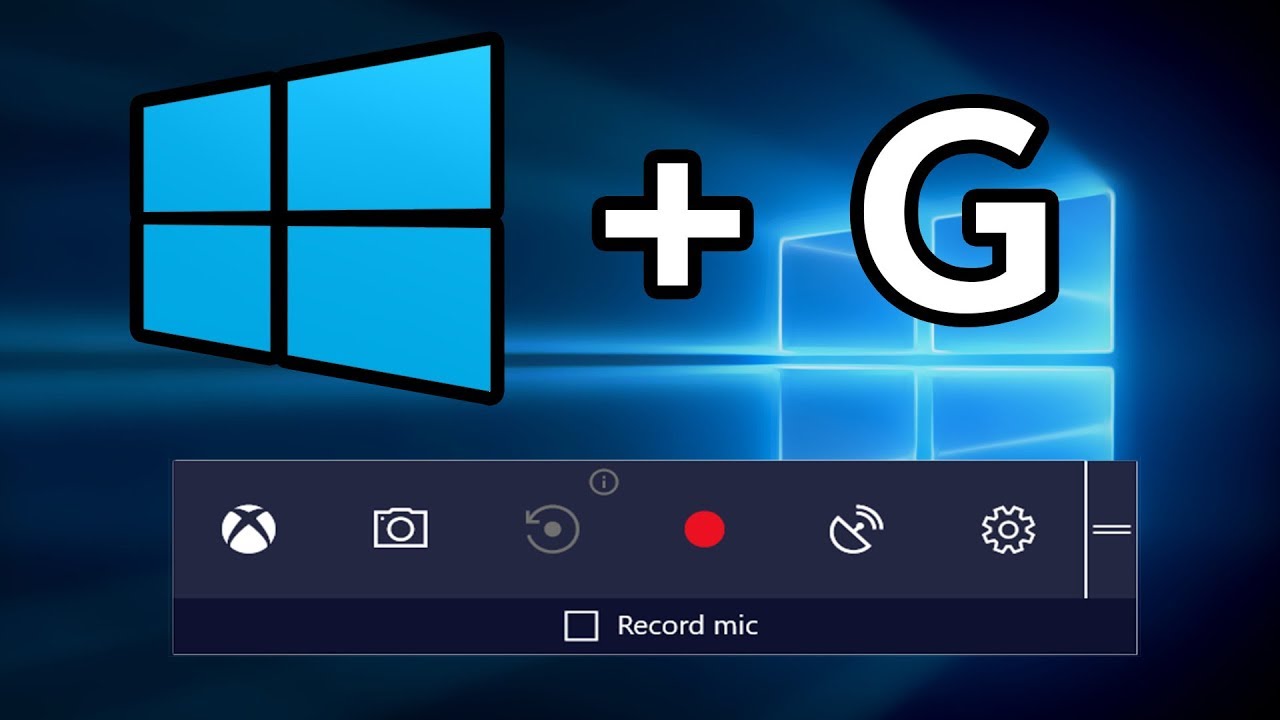
Image source: YouTube
Why You Should Use PowerPoint to Record Your Desktop
Many users are surprised to learn that Microsoft PowerPoint (Office 2016 and newer, including Microsoft 365) contains a robust screen recording utility. This is often referred to as the "secret" method because it bypasses the limitations found in the Xbox Game Bar.
Advantages of the PowerPoint Method
Unlike the Game Bar, PowerPoint can record your entire desktop, including the taskbar, File Explorer, and multiple overlapping windows. This makes it an excellent choice for comprehensive system walkthroughs. Furthermore, it allows you to record your cursor movements and audio simultaneously with high reliability.
How to Access the Recorder
- Open a new or existing PowerPoint presentation.
- Navigate to the Insert tab on the top ribbon.
- On the far right, click Screen Recording .
- A small control dock will appear at the top of your screen. Click "Select Area" and draw a box around what you want to record (or select the whole screen).
-
Click "Record." To stop, press
Win + Shift + Q.
Once the recording is finished, it will be embedded into your current slide. To get the video as a standalone file, simply right-click the video on the slide and select "Save Media As..." to export it as an MP4 to your hard drive. This workflow is widely regarded as one of the most reliable ways to capture the full Windows environment without installing new software.
How to Fix Common Screen Recording Problems on Windows
Even with the best tools, technical hurdles can arise. The two most frequent complaints from users are missing audio and the dreaded "black screen" bug. Addressing these requires a deeper look into how Windows manages hardware resources.
Fixing the "No Audio" Issue
If your recording is silent despite your microphone being plugged in, the culprit is often "Exclusive Mode." This setting allows one application to take total control of the audio driver, preventing the recording software from "hearing" the input. To fix this:
- Open the Control Panel and go to Sound .
- Select your active playback or recording device and click Properties .
- Navigate to the Advanced tab.
- Uncheck the box that says "Allow applications to take exclusive control of this device."
- Restart your recording application and try again.
Resolving the Black Screen Bug
A black screen usually occurs when there is a conflict between your recording software and your Graphics Processing Unit (GPU). This is common on laptops with "switchable graphics" (an integrated Intel/AMD chip and a dedicated NVIDIA/AMD card). If the recording software is running on the integrated chip but the app you are recording is on the dedicated card, the software may see nothing but black. You can usually resolve this by going into Windows Settings > System > Display > Graphics and forcing your recording app to use the "High Performance" GPU.
"When troubleshooting audio sync issues, ensure your system sample rate matches your recording software—typically 48kHz is the standard for modern digital video."
Which Screen Recording Tool Is Right for You?
Choosing the right tool depends entirely on your specific needs. While the Snipping Tool is great for brevity, OBS Studio is a top-tier choice for professional-grade production. The following table provides a decision framework to help you choose.
| Tool | Best For | Records Desktop? | Ease of Use | Key Advantage |
|---|---|---|---|---|
| Snipping Tool | Quick Tutorials | Yes (Partial) | High | No setup required |
| Xbox Game Bar | Gaming/Single Apps | No | High | Low system impact |
| PowerPoint | Full Desktop Guides | Yes | Medium | Records everything |
| OBS Studio | Streaming/Pro Video | Yes | Low | Infinite customization |
| ScreenRec | Instant Sharing | Yes | High | Cloud links & encryption |
Advanced Recording with OBS Studio and ScreenRec
For users whose needs exceed the capabilities of native Windows tools, third-party software offers a significant advancement in functionality. These tools are particularly useful for creators who need to overlay a webcam, use multiple audio sources, or stream live to platforms like YouTube or Twitch.
OBS Studio: The Industry Standard
OBS (Open Broadcaster Software) Studio is a free, open-source powerhouse. It allows for complex "scenes" where you can place your screen capture, a webcam feed, and a branded overlay all in one frame. It supports custom bitrates and various encoders, making it a highly impactful tool for those who need high-quality output. According to University of Arkansas IT support , OBS is the recommended solution for academic and professional environments requiring multi-source capture.
ScreenRec: Speed and Security
If your primary goal is to send a quick video message to a client or teammate, ScreenRec stands out as a popular choice. It focuses on the "instant" aspect of communication. Once you finish recording, it automatically uploads the file to a secure cloud and copies a sharing link to your clipboard. Notably, it uses 128-bit encryption to ensure that your captures remain private, which is a significant step forward for corporate security compared to unencrypted local files.
Image source: DemoCreator - Wondershare
Where to Find and Edit Your Screen Recordings
Once you have successfully captured your footage, the next step is finding and refining it. By default, Windows keeps things organized in a central location, but you may want to move these files to an external drive if you record frequently, as high-resolution video files can quickly consume storage space.
- Default Storage Path
-
Most native Windows recordings are saved to
C:\Users\[YourName]\Videos\Captures. You can quickly access this by opening File Explorer and clicking on the "Videos" folder in the sidebar. - Microsoft Clipchamp
- Clipchamp is the official successor to Windows Movie Maker. It is now built into Windows 11 and allows you to trim your recordings, add text overlays, and adjust colors without needing to download third-party editing suites.
- File Formats
- Almost all modern Windows recording tools default to MP4 (H.264) . This format provides an excellent balance between visual quality and file size, making it easy to share via email or upload to the web.
Frequently Asked Questions
Why is the Win + Alt + R shortcut not working for me?
This shortcut belongs to the Xbox Game Bar. If it isn't working, the Game Bar might be disabled in your system settings. Go to Settings > Gaming > Xbox Game Bar and ensure the toggle is set to "On." Additionally, remember that Game Bar will not start recording if your active window is the Desktop or File Explorer.
Can I record my screen and webcam at the same time using native tools?
Native tools like the Snipping Tool and Game Bar do not currently support a "Picture-in-Picture" webcam overlay. To record your screen and camera simultaneously, you should use a top-tier third-party option like OBS Studio or ScreenRec , both of which allow you to position your camera feed anywhere on the screen.
Is there a time limit for Windows screen recordings?
The Xbox Game Bar has a default maximum recording length of 2 hours. However, you can increase this to 4 hours by going to Settings > Gaming > Captures . The Snipping Tool does not have a hard-coded time limit, but it is generally recommended for shorter clips, as very long recordings can occasionally lead to stability issues during the saving process.
How do I record only the system audio without my microphone?
In both the Snipping Tool and Game Bar, you will see a microphone icon in the recording toolbar. Simply click this icon to mute your mic. The software will continue to capture "System Audio" (the sounds coming from your apps and Windows) while ignoring any external noise from your room.
Why does my screen recording look blurry or pixelated?
Blurry recordings are often caused by "Display Scaling." If your Windows scale is set to 150% or 200% (common on 4K monitors), the recording tool may struggle to capture the native resolution. Try setting your scaling to 100% before recording, or check the output settings in your software to ensure it is capturing at 1080p or higher.
Key Takeaways for Windows Screen Recording
Mastering screen capture on Windows is about choosing the right tool for the specific task at hand. Here is a summary of the most important points to remember:
-
Use Snipping Tool
(
Win + Shift + S) for Windows 11 partial-screen captures and quick tutorials. -
Use Xbox Game Bar
(
Win + Alt + R) for high-performance recording of games and individual apps. - Remember the limitation: Game Bar cannot record the Desktop or File Explorer; use PowerPoint or Snipping Tool instead.
- Fix audio issues by disabling "Exclusive Mode" in your Windows Sound settings if you experience silence.
-
Find your files
quickly in the
Videos > Capturesfolder, which is the default for most native tools. - Upgrade to OBS Studio if you need professional features like webcam overlays or custom bitrates.
- Update your apps via the Microsoft Store to ensure you have the latest audio and video features.
For your next project, start by testing the Snipping Tool for a few seconds to verify your audio levels before committing to a full-length recording.